Applies To: ■ PoliteMail Desktop ■ PoliteMail Online ■ PMUA □ PoliteMail M365
Version: ■ 4.9 ■ 5.0 ■ 5.1+
Segmentation
PoliteMail allows you to break down a Metrics report in multiple ways, called segmentation. For one, you can view a Metrics Report by distribution list (if sent to multiple or even nested Lists). You can also segment the report by what you have defined in the Business and Region fields. Finally you can also segment a report based on any Custom Fields you have defined, such as employee title or role.
There are limits on the minimum segment size for reporting (to maintain privacy), as well as the maximum number of segments per send. More information may be found here.
Setup
If you're using nested Lists, you'll need to make sure those are created. If you're using Custom Fields, you'll need to make sure the Custom Field is filled for all recipients/members (usually as part of your import). Be sure to check the 'Segment' checkbox! Custom Fields can only be created by Administrators.
Viewing Segmentation Reports
To start, go to POLITEMAIL > Results > Messages. Double-click on the desired message to open the Metrics report. Once there, click on Segmentation.
- If Segmentation is greyed out, either no recipients had values in the Custom Field(s),or the number of segments was less than the minimum Segment Size specified in your settings.

You will now see a list of all the segments (distribution lists and Custom Fields) you sent your message to.
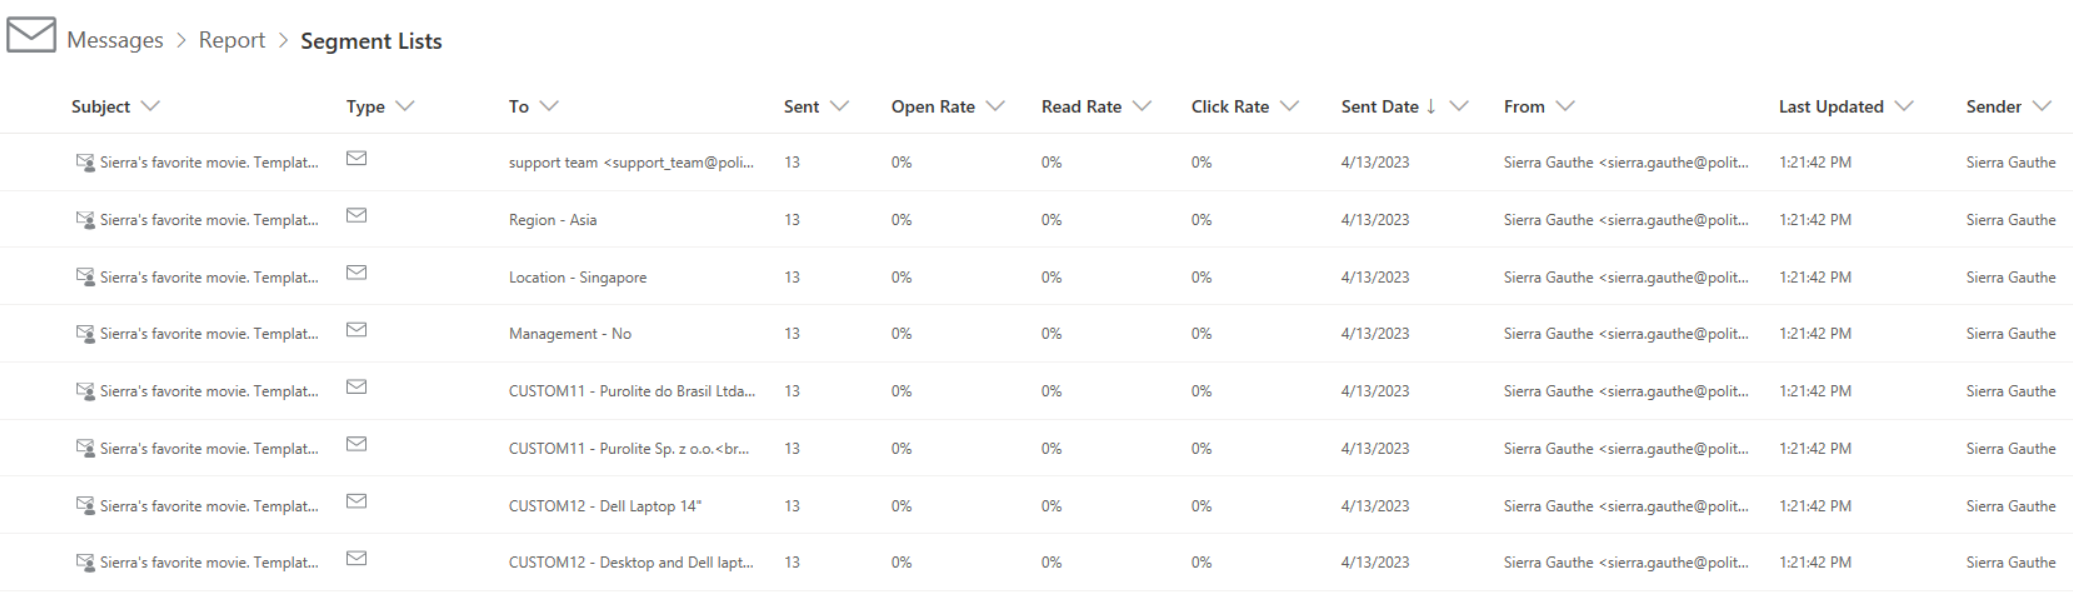
- Click on any item to see the metrics for that segment.
Note that Segmentation Metrics are created at the time of send; if a Message is sent with no segmentable custom fields and the field was marked as 'Segment' after the send, the segmentation metrics will not display.

