Applies To: □ PoliteMail Desktop ■ PoliteMail Online ■ PMUA □ PoliteMail M365
Version: □ 4.94 □ 4.97 ■ 5.x
Selecting Recipient(s) in PoliteMail Online
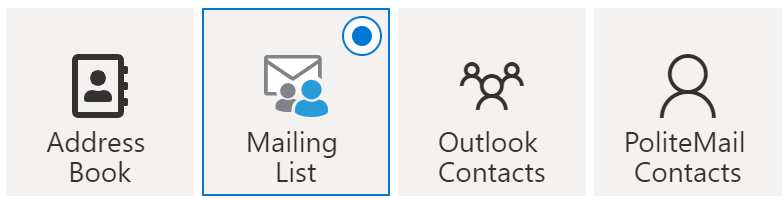 When composing a message in PoliteMail Online and you click on the "To" field, a window appears with four icons across the top from which you can select your recipients.
| Address Book | This option uses Graph groups to select recipients. Graph groups are collections of recipients that you can create and manage within Azure Entra ID (Entra ID). |
| Mailing List | This option pulls recipients from PoliteMail lists. These lists can be created and managed within PoliteMail under 'Mailing Lists'. |
| Outlook Contacts | Instead of using Graph groups like the Address Book option, this option pulls individual recipients from your Microsoft Graph contacts stored in Entra ID. |
| PoliteMail Contacts | Instead of pulling lists from PoliteMail like the Mailing Lists option, this option pulls individual recipients from PoliteMail contacts. |
By using these options, you can easily and efficiently select the recipients for your email campaigns and ensure that your message reaches the right audience.
- Once you click which box you want, the contents appear below. You can use the Search field to find what you're looking for if you don't see it.
Dynamic Distribution Groups must be added to the TO field using the email address and cannot be found via search due to limitations imposed with the Graph API.
Can't find the recipient you want? Refer to this Microsoft Help article for tips on searching effectively.
- Double-click on the recipient you want, and it will appear in the top field.
- You can mix and match! For example, you can select a Graph Group, and then also select an individual PoliteMail contact.

